Garage Golf Simulator Guide
The garage is where most home simulators actually get built, because it is the one room with the depth and the ceiling. It is also a room designed for a car, not a swing, so four garage-specific things decide whether the build works: the door opener, the joists, the parking question, and whether the setup has to disappear.
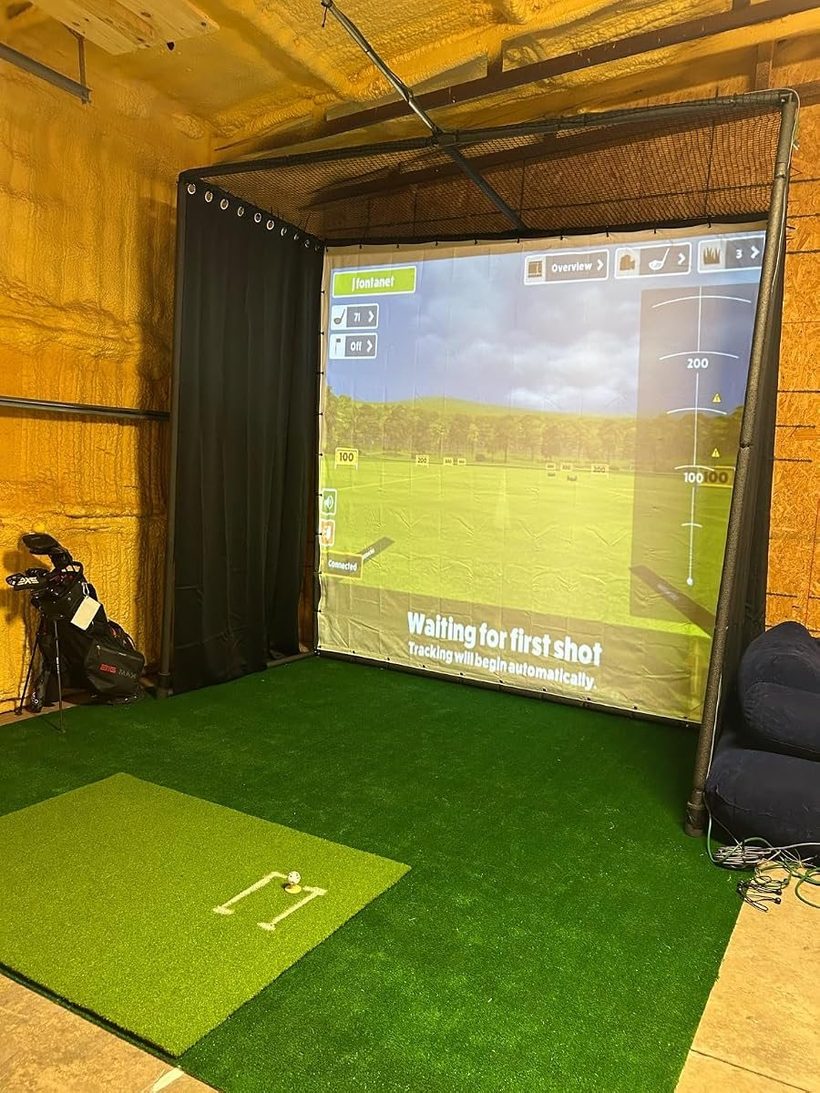
The two standard cases
Single car garage, about 12 x 20 ft, 9 to 10 ft ceiling. Depth is generous, width is the fight. A camera class monitor (beside the ball) is the natural fit, the hitting position sits offset, and left and right handed golfers in one household will feel the width. Start from these numbers in the room calculator, prefilled for a single garage, and adjust to your real measurements.
Two car garage, about 20 x 20 ft. Every class fits on depth and width, so the decision moves to the ceiling and the opener. You can dedicate one bay and keep parking in the other, which is the build most two-car owners end up with. Prefilled for a two car garage.
The door opener is your real ceiling
A centre-mounted opener and its rail hang 12 inches or more below the joists, exactly where a driver wants to be. Measure your ceiling at the opener, not at the wall. The usual fixes, in cost order: move the hitting position so the swing plane misses the rail; swing toward the door with the opener behind you; or convert to a side-mount (jackshaft) opener, which frees the whole centre of the ceiling. The ceiling height guide has the test-swing method to check clearance before you commit.
Joists, rails and the opened door
An open sectional door parks itself along the ceiling, over your screen end. If the screen hangs where the opened door rests, the two will meet. Plan the bay layout with the door open, and check where the horizontal tracks run: they steal the top corners of the room, which is where tall screens want to go. Exposed joists are an advantage for mounting an overhead unit or a projector, but measure to the joist bottom, not the ceiling between them.
Retractable or fixed?
If the car must come back in, the setup has to fold: a retractable screen or a net, a portable radar or camera unit, and a mat that rolls. That points at the radar and camera classes and away from an overhead install, and it adds setup minutes to every session. If the bay is yours permanently, a fixed enclosure is quieter, safer for mishits, and always ready. The setup planner prices both shapes from the same bands: leave the projector and enclosure tiers at entry for the retractable version and compare.
Heat, cold and light
Garages swing in temperature, and projectors and launch monitors have operating ranges: check your model's manual before a winter build. Light is the other garage tax: a bright door window washes out a projected image, so the projector tier may need to go up, or the screen may need to move to the dark end of the room. Neither changes the fit verdicts; both change which build you will enjoy.